|
|
Sagelight Vibrance Technology
Saturating images with high amounts of primary colors, without losing image definition
|
Introduction
Vibrance can add very deep color and contrast to your image, making the elements stand out. Where saturation typically keeps the light in your image steady (or even adds to it), Vibrance deepens the color area so that you can add more color without causing your image to become too glaring.
Saturation vs. Vibrance
The main function of Saturation and Vibrance is to add color to your image. The best description of the difference is to visualize both methods adding color evenly, but where saturation will keep the light about the same and Vibrance will cause the light to drop as it adds color, which means that more color can be added and deeper tones generated.
|
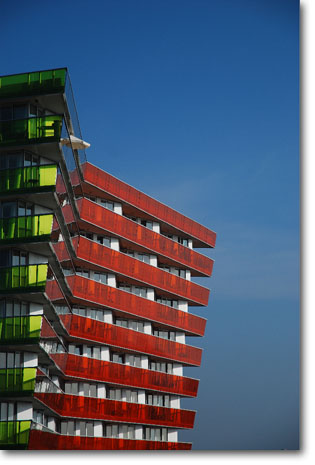
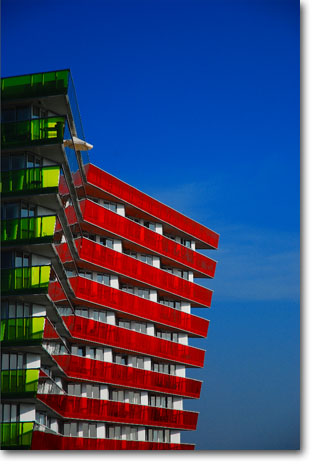
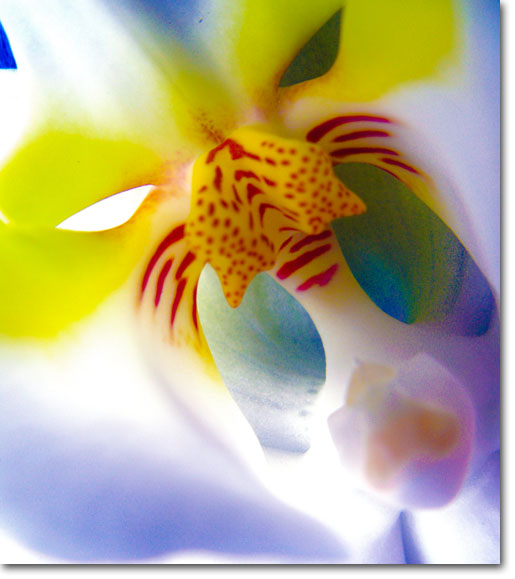
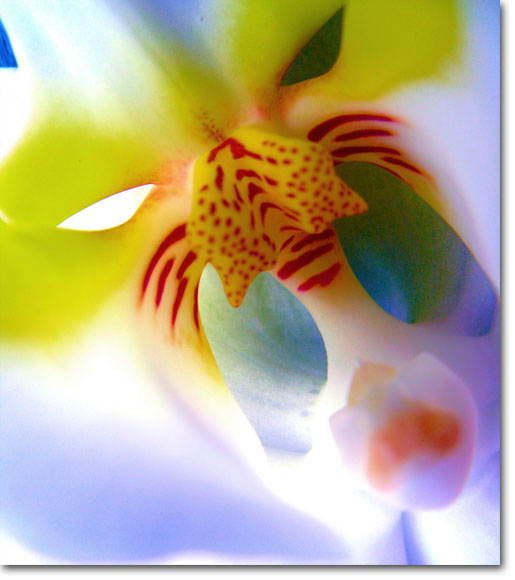
Sagelight Vibrance Before & After Example
|
As you can see, the image on the right has a very nice, deep color. Where Saturation would have added color, it would not have deepened the reds or blues. This is an example of how Vibrance can give your image a very powerful element to it with just one slider movement.
Using Saturation, Vibrance, or Both?
Saturation and Vibrance can work well together. Since Sagelight's Vibrance is a superset of Saturation it becomes even easier (see the next section). Under most circumstances, Vibrance and Saturation work well together, where you can add a certain amount of each to get just the effect you desire. While the Vibrance is deepening the colors, you can also use the Saturation to add bright color at the same time for a bright, vibrance effect.
It's dependent from image to image. For example, the images presented in this document are images that work well with just Sagelight Vibrance alone, but trying a mixture with Vibrance and Saturation might work well with these images, too. As with much of image editing, but even more so when it comes to Vibrance and Saturation (as a general principle), the idea of how much color to add with Vibrance, Saturation, or a mixture of both is completely subjective and differs from person to person.
Sagelight Vibrance
Sagelight Vibrance is an algorithm designed just for Sagelight to get the most out of the Vibrance concept. Sagelight Vibrance is a superset of saturation, and as such it offers a few things that separates it from the traditional idea of Vibrance
1. Deeper Colors. Sagelight Vibrance generates deep colors in all color ranges, where traditional vibrance works better on some colors than it does on others.
2. Less Noise. Sagelight Vibrance generates less noise than traditional vibrance. See the section below regarding noise.
3. Wide Range from Saturation to Vibrance. Sometimes Vibrance just looks better
|
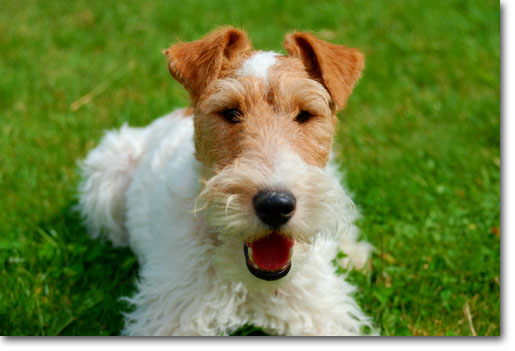
Original Image
(Image Credit: "Gatsby, the wire fox terrier, looking cute" by Alicia Nijdam)
|
|
|
|
The above is a great example of how Vibrance can be used in place of Saturation. Where the first example was meant to add a deep tone to the image, this example shows a nice color tone added to the image. While it is deepening colors, it is done in such a way where the image has much more color but still looks natural.
Sagelight Vibrance vs. Traditional Vibrance
First, it's important to note that not all editors that use the term 'Vibrance' use it correctly. A number of editors apply the term Vibrance to some saturation-based algorithm that simply does some augmentation of a saturation algorithm.
The best comparison of Sagelight's Vibrance is to Lightroom, as the methodologies are both the same: increase the color while deepening it. This is essentially the base definition of Vibrance.
As mentioned, Sagelight Vibrance is a superset of Sagelight Saturation, and conceptually, of Saturation in general. This gives Sagelight Vibrance some advantages.
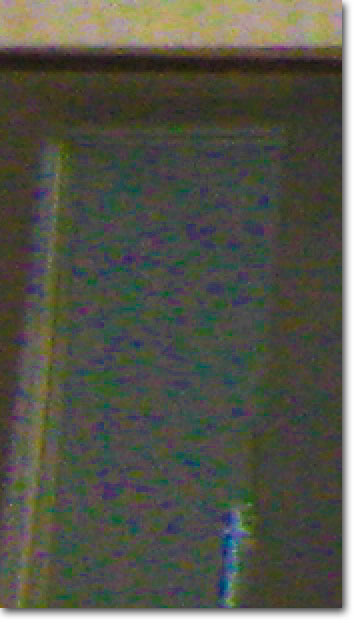
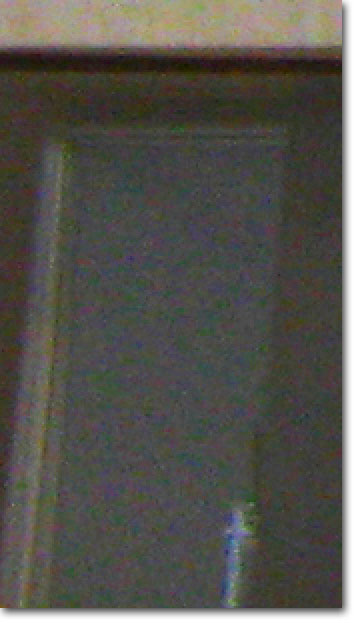
A fundamental of Vibrance as a concept is that it generates noise. It's just the way Vibrance works. It does this because it is doing a lot of work on your image and separating colors and light. This separates natural noise that is already in the image causing the pre-existent noise to become exascerbated.
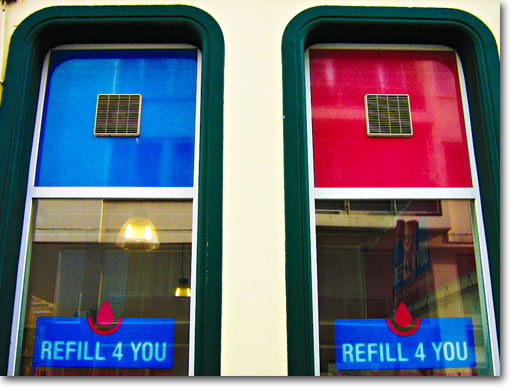
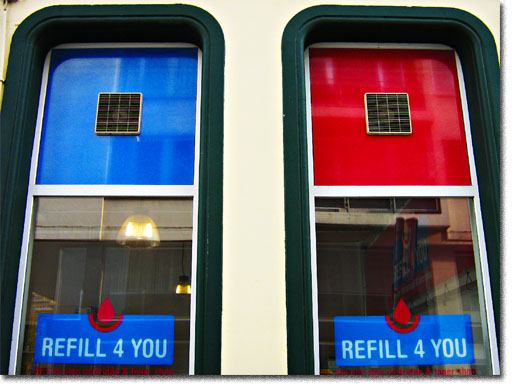
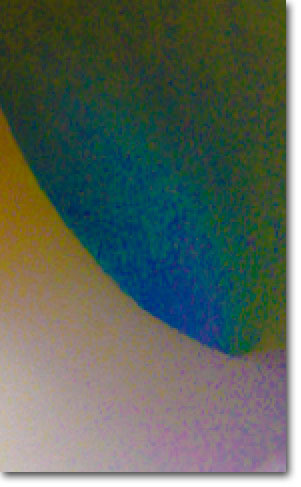
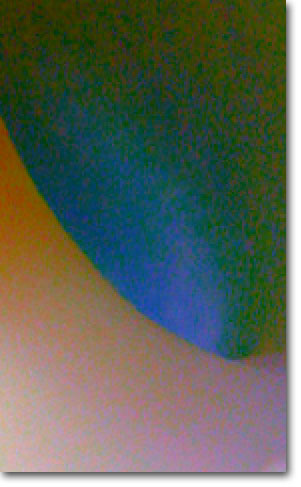
Original Image (Image Credit: "Flickr Colors" by Nils Geylen)
|
The two above examples look very similar. But, if we look at the closely, there is a difference.
The Sagelight Image generated much less noise, showing how the Sagelight Vibrance algorithm can avoid noise that is common with traditional vibrance.
As before, the Sagelight Vibrance image has much less noise. In fact, the noise in the Sagelight Image is essentially the noise in the original image before Sagelight Vibrance was applied.