|
|
Dynamic Masking
Allowing the mask to change shape interactively as you edit your image
|
Introduction
. Masking is traditionally fairly difficult. You either have to draw a mask around your subject or somehow automatically select what you want. But, what if you get something wrong or just want to get a better result?
With traditional masking, you either have to accept your result (i.e. you're stuck with it), or you have to start over in large measure.
With Sagelight, you can continually change the shape of your mask as you edit. You can draw on the mask or use automatic selection tools and other masking tools to completely defined and re-define the mask. You can then use the Quick Edit and other controls to change the masked areas in the image as you change the mask. You can see how the controls are changing your image through the mask and then augment the mask at the same time.
. The normative process for when you want to make a gradient, for example, is as follows.
1. Draw the mask, either through a gradient or through some other selection area.
2. Use the controls (such as color tinting, etc.) to get what you want.
3. If you don't like the result, you have to start over. This can lead to accepting 'acceptable' rather than great results because it is difficult to adjust the masking result without starting over.
. All you need to do is to click on the screen or draw the mask, and then change the image with the adjustment controls. You can then change the shape and size of the mask as you're using the controls. This leads to much better results. It is 10 times faster to get the same result, and you can then augment your result to get it just right, rather than just accepting the initial mask because it's too difficult to change.
Masking Example
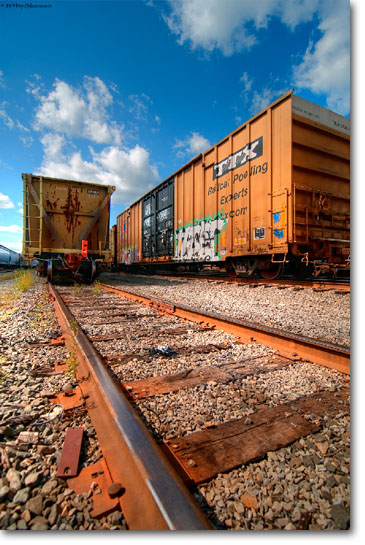
In the following example, consider an image where we want to desaturate everything but the sky for an effect:
Original Image (Image Credit: "Trains - Agawam, Mass" by jdanvers)
|
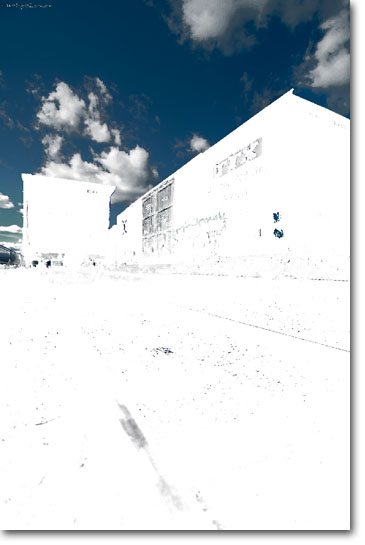
Masked Image
|
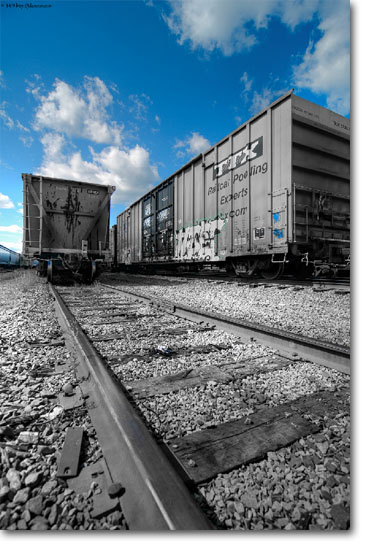
Result Image
|
Sagelight has many layered and dynamic masking controls. In the example above, to desaturate everything but the sky, it's as easy as clicking the sky and inverting the mask (the white areas show the selected areas based on the mouse click, mask slider settings, or manually-drawn mask). You can use any control (in this case the saturation slider to desaturate the masked areas) or change the mask dynamically by adjusting the control sliders or moving the mouse on the screen (with the button down) to reselect.
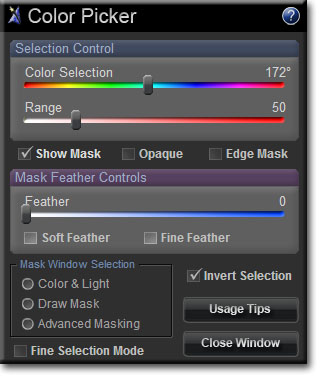
Sample Masking Controls in Sagelight
The above image is one of a number of masking controls, depending on what you want to do with masking. You can draw a mask or use more advanced controls. You can then edit the mask manually, if desired.