|
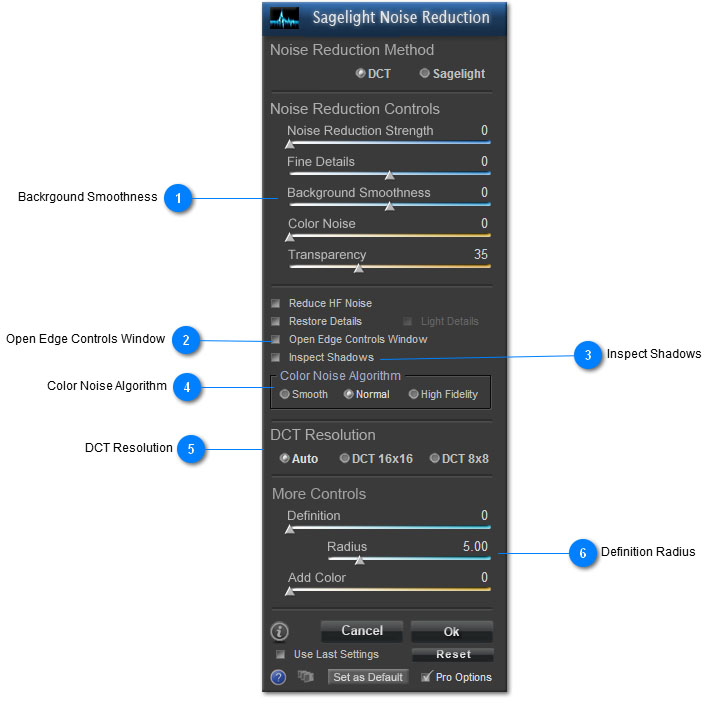
 Backrgound Smoothness
This will increase or decrease the smoothness of the background/smooth areas without affecting the details.
DCT and Sagelight Modes work slightly differently. With Sagelight Mode, increasing with large amounts works better, and the default background smoothness is relatively low.
With DCT mode, the Background Smoothness slider is more sensitive, and you may need to use the Fine Details Slider to compensate for some details. DCT 16x16 mode smooths much more than DCT 8x8.
|
 Open Edge Controls Window
Pressing this button opens the Edge Controls Window. This gives you great control over how the edges are restored in the image and can make an amazing difference in the results of your image.
The Restore Details and Light Details buttons are simply special cases of settings in this window. Use these buttons to see how the controls change in this window.
While considered somewhat advanced, the Edge Window Controls are easy to use, especially since you can display how Sagelight sees the edges.
|
 Inspect Shadows
When checked, this causes Sagelight to brighten the display image so the shadows can be inspected. This will not be applied to the image if it is on when the OK button is pressed.
|
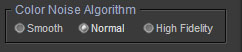
 Color Noise Algorithm
By default (the "Normal" setting), Sagelight uses a Gaussian Blur to smooth the colors. This can be very effective, but can also cause color detail loss. Two other modes can help with how the color noise is handled with Sagelight.
Normal
Uses a Gaussian Blur to reduce color noise. This can be very effective in removing noise, but can also cause color detail loss.
Smooth
This mode smooths the colors and can keep more detail.
High Fidelity
This mode will smooth the colors but keep details. It can keep some color noise, but it useful when you're working with fine details.
In all cases, using the Edge Control Window or Restore Details buttons will also restore colors that have been reduced due to the color noise settings.
In the case of the Normal mode (i.e. the Gaussian Blur), using the Restore Details/Edge Control Window controls can be very effective.
|
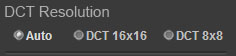
 DCT Resolution
This controls which DCT patch/cell size Sagelight uses in the DCT noise reduction.
DCT 8x8
Uses an 8x8 patch. This is useful for many images, and is the default. With large images with large details, it is not sufficient and DCT 16x16 should be used. DCT 8x8 is the default since it tends to return more crisp details than DCT 16x16
DCT 16x16
This is the most natural noise reduction method in Sagelight for larger images. It preserves details and keeps them from looking artificial. It works much better with larger images. With smaller images, it tends to be less effective than DCT 8x8.
Auto
Automatically determines which method to uses, DCT 8x8 or DCT 16x16. When the Noise Strength Slider reaches 40, Sagelight switches to DCT 16x16, and uses DCT 8x8 otherwise.
|
 Definition Radius
Sets the radius the definition slider uses. By default, the definition radius is set at 5 pixels. Larger and smaller values can be useful.
With images that are large and have larger details, a higher radius can make the image look more natural and defined.
Smaller images can sharpen better and also reduces halos and other artifacts.
|
|
|