|
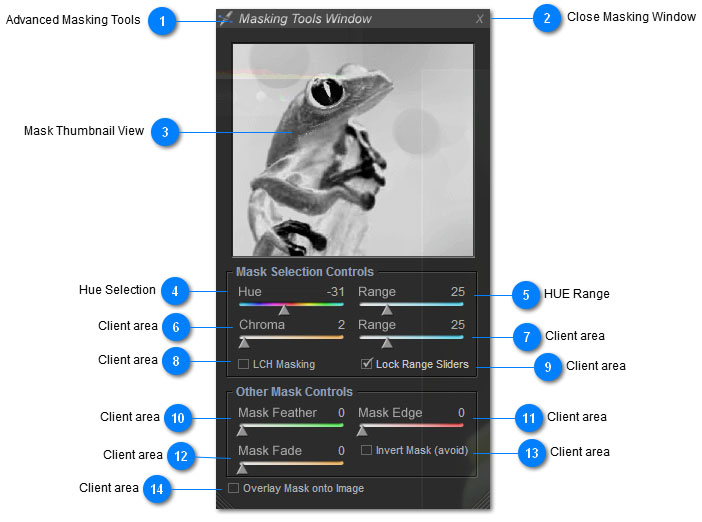
 Advanced Masking Tools
This set of controls provides more advanced masking tools than the default masking tools in the left control panel.
The default masking are simplified controls that work on more general situations.
The controls in this window are more advanced and offer much more flexibility than the default masking.
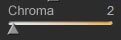
note: You can select the mask values by using the Hue and Chroma Sliders. You can also press the mouse on the screen to perform the same function. Keeping the mouse button down while moving it on the screen will update the mask value in realtime. This can be useful in refining your mask based on a color point on the screen vs. selecting it with the Hue & Chroma Sliders.
|
 Close Masking Window
Pressing this button will close the masking window.
note: this will also reset all masking changes. When this window is closed, the masking is discontinued. When you re-open the window, some basic settings are restored to the previous settings.
|
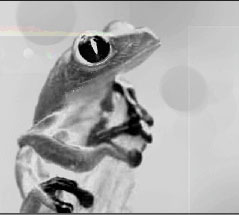
 Mask Thumbnail View
This shows the areas that are masked, based on the Hue, Chrome, and Range slider values.
The strength of the mask value is proportional to the light value of the mask display. For example, if a value is white, then it is 100%, and all controls used for the function you are in (i.e. Pro Saturation, Power Curves, etc.) will work at 100% for those values (or avoid these values if you have the Invert Mask set).
As the values become more gray and move towards black, the masking percentage lowers, and these values are only partially changed based on their masking percentage for that value.
You can enlarge the thumbnail view by grabbing the button-right-hand corner of the window and moving it outward.
|
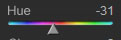
 Hue Selection
Use this value to select the hue 'center' of the mask. For example, a red value will select red and then decrease the masking as the color moves away from red.
You can also use the mouse by clicking it on the image. Holding the mouse button down while moving it around the image will select new values in realtime, changing the value of the HUE slider as you move the mouse.
When the HUE is changed, the image will update in realtime to reflect the new masking center.
|
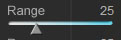
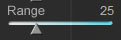
 HUE Range
This selects the range of the hue mask 'center'. The larger the value, the more hue values will be selected. For example, if you've selected RED, smaller Range Slider values will select only reds close to the chosen value. As the Range Slider value increases, more reds, then magenta and yellow values (as shown in the left and right values next to the slider handle) will be chosen, until almost all colors are chosen.
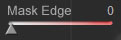
note: when the range is 100, all values are chosen but not at the same percentage value. The center value will be at 100%, and the values outside this range will start to have a lower mask percentage. See the Mask Edge Slider for more information.
|
 Client area
|
 Client area
|
 Client area
|
 Client area
|
 Client area
|
 Client area
|
 Client area
|
 Client area
|
 Client area
|
|
|