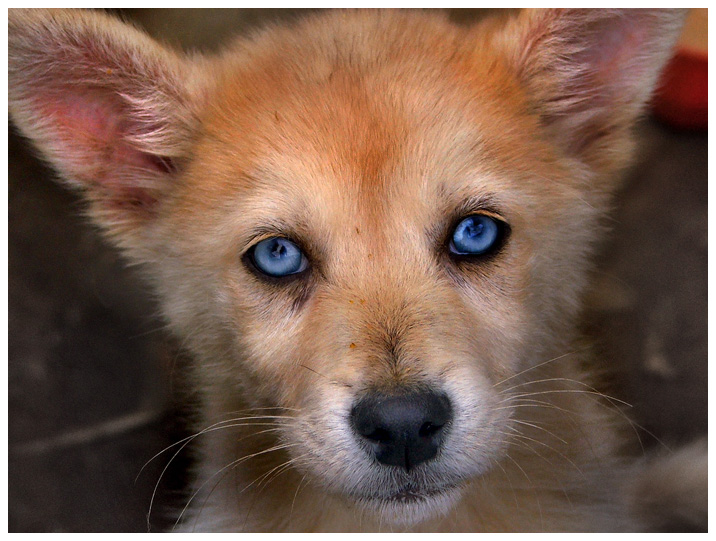
The original picture was hazy (not enough contrast),
yellowish and a little plain. We used the Pro Quick Edit Box to
color balance the picture, bring down the low tones and increase
the color. We then used the Dynamic Light functions to create
just the right contrast.
After this, we created a vignette with the Draw Mask to bring
up the focus of the picture (the dog’s face). We also used the
Dodge and Burn brush to selectively bring down dark areas and to
highlight elements of the dogs face, but also add contrast in
dark areas (like the bridge of the nose) to bring the dog out of
the picture.
The result is an amazingly adorable look from the dog who is
now much more colorful and looks like he’s about to come out of
the picture.